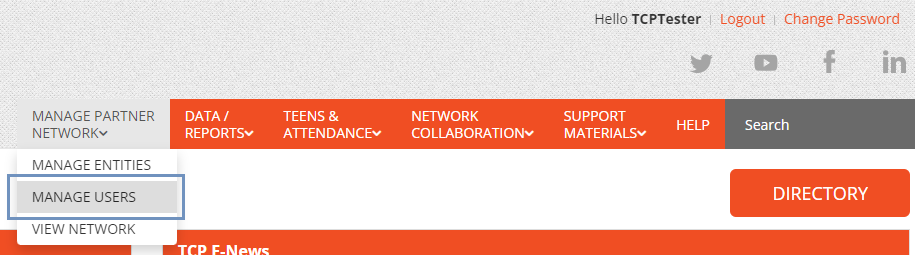
Select "Manage Users" under the "Manage Partner Network" menu
Click on the "Add User" button located in the upper right hand corner

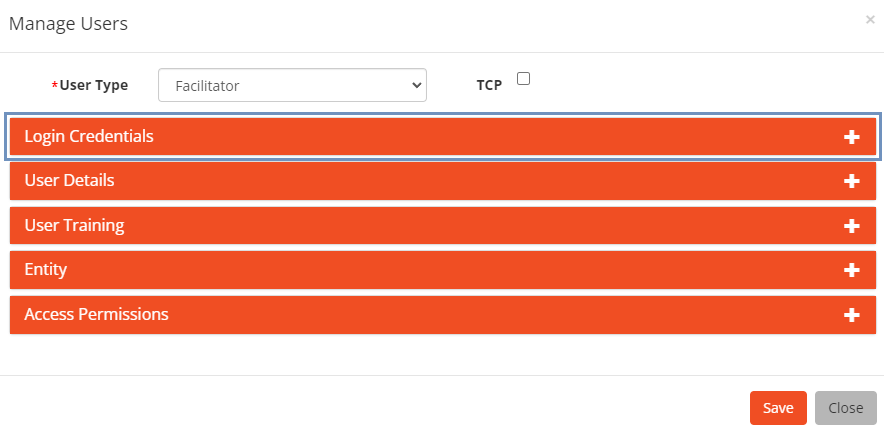
Select User Type
-
Using the drop-down menu, select one of the following user types (select according to the person’s primary role with the program):
-
Facilitator
-
Coordinator
-
Evaluator
-
Admin Staff
-
-
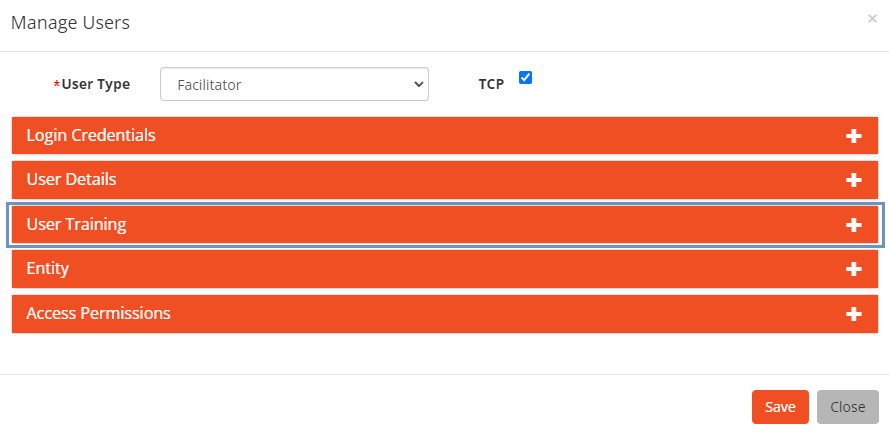
Indicate if the user is associated with TOP or TCP or both by checking the appropriate box(es) next to User Type.
Note: Depending on your implementation only some of the aforementioned boxes may be available.

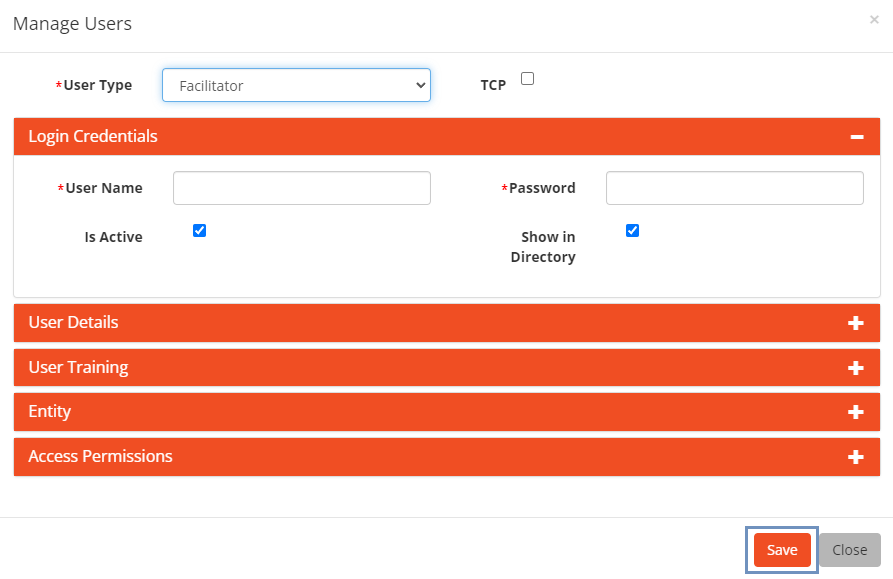
Enter Login Credentials
-
Click the Login Credentials title to expand the section
-
Enter the following user login credentials:
Field
Description
User Name
Type the name you want to give to the user account; the user will use it to login to Wyman Connect. We recommend a combination of "first initial + last name", or some variation thereof. This field is required.
Password
Type the user's password; the user will use it to login to Wyman Connect. The password must be at least 7 characters long. This can be changed by the created user after logging in for the first time. This field is required.
Is Active
Active users can log in to the system using their username and password. The checkbox is selected by default. Uncheck the box in case you need to disable the user account.
Show in Directory
Select the checkbox to display the user in Directory listings. Leave the option unchecked to keep the profile out of the Directory.

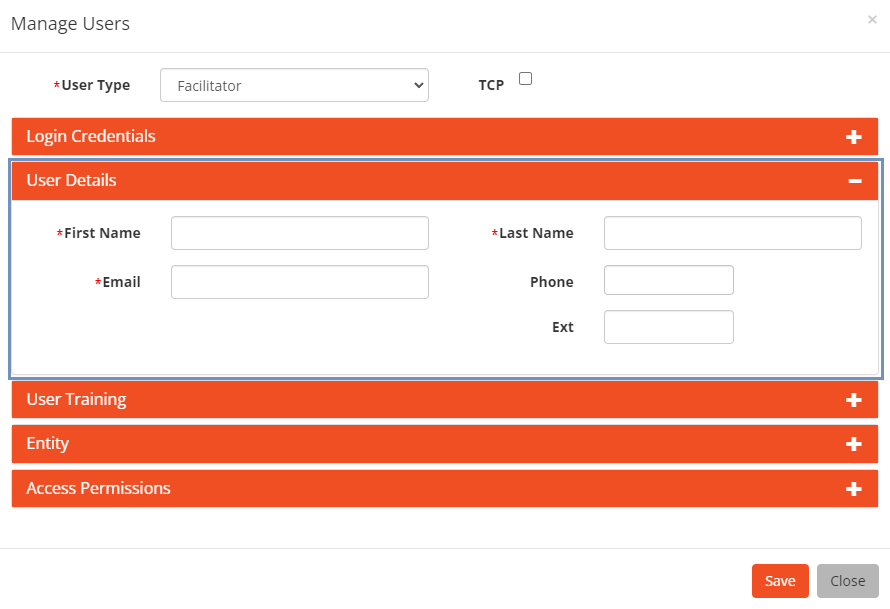
Add User Details
-
Select the "User Details" title to expand the section.

-
Fill in the following fields:
Field
Description
First Name
Type the user's first name. This field is required.
Last Name
Type the user's last name. This field is required.
Email
Enter the user's email. This field is required.
Phone, Ext
Type the phone number and add the extension number if it exists.
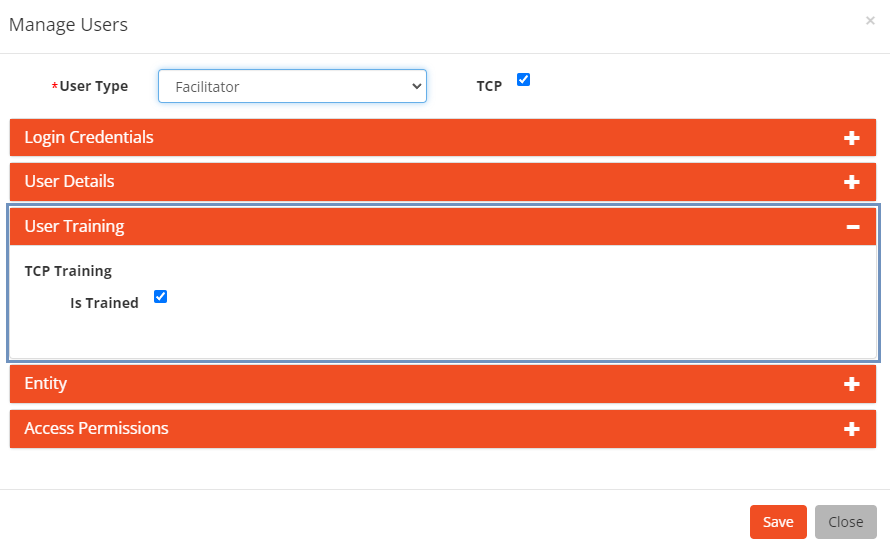
Select User Training
-
Select the "User Training" title to expand the section.
-
Click on the appropriate checkbox to indicate if the new user as completed training.
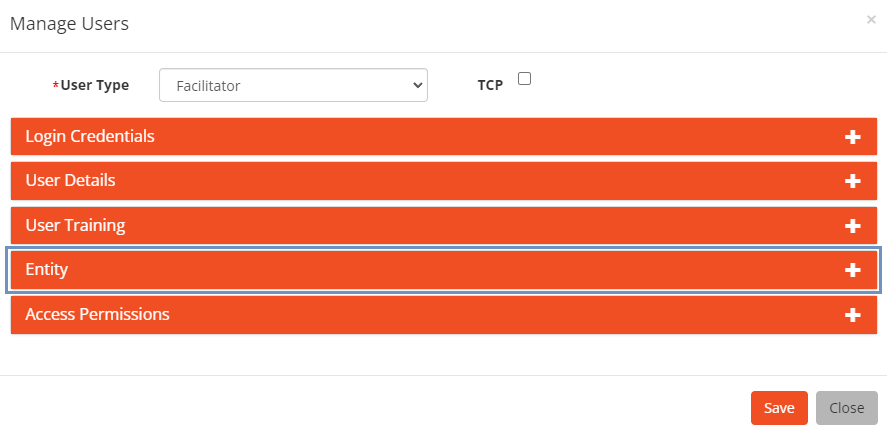
Select the Entity (TCP Group) the new user is associated with
-
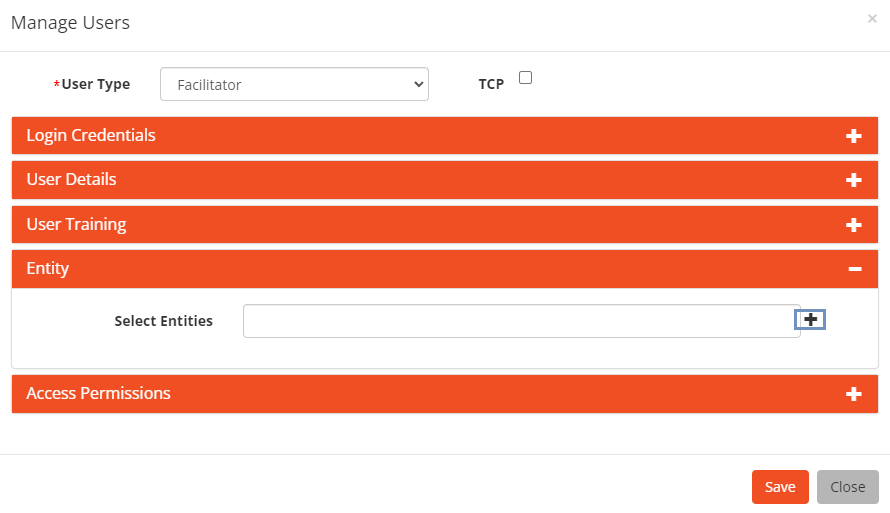
Select the "Entity" title to expand the section.
-
Click the plus icon next to the "Select Entities" field.
-
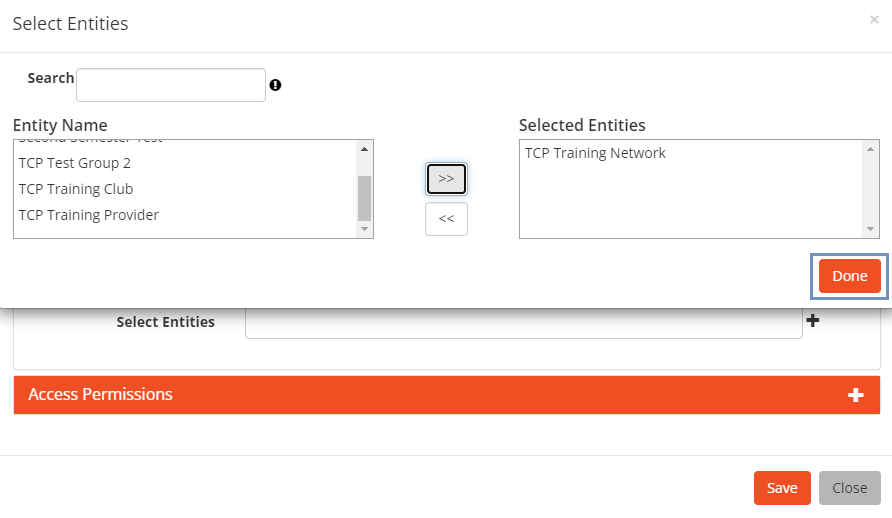
Search for the name of the TCP Group by typing the name in the search field. The groups with a matching name will be listed in the box under the search field.
-
In the Entity Name list box, select the appropriate TCP Group name.
-
Click the arrow to move the highlighted item to the Selected Entities list box.
-
Click "Done"
-
The group name now appears in the Entity section.

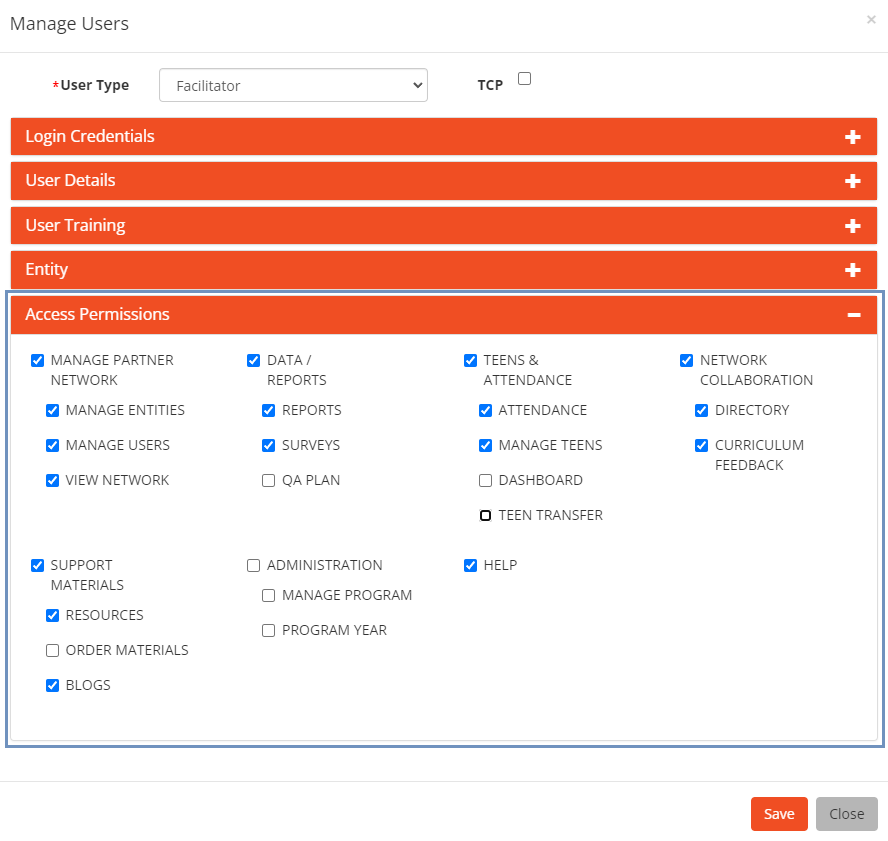
Define User Permissions
-
Select the "Access Permissions" title to expand the section.

-
Permissions control the actions that are available to the User. Assign permissions to Users based on their primary role and responsibilities in the program.
By default, all permissions are selected. Uncheck items you do not want enabled for the User you are adding.
Save User
-
After appropriate permissions are set, click the "Save" button located in the bottom-right corner of the window.
-
A success message pops up. Click OK.