Under the Teens & Attendance menu, select Manage Teens.

Locate the TOP Club you are registering teen into by typing in the club name or part of the name in the search field. The search is not case-sensitive. Click "Search".

Tip: Click "Search" without filling the search fields to list all groups.
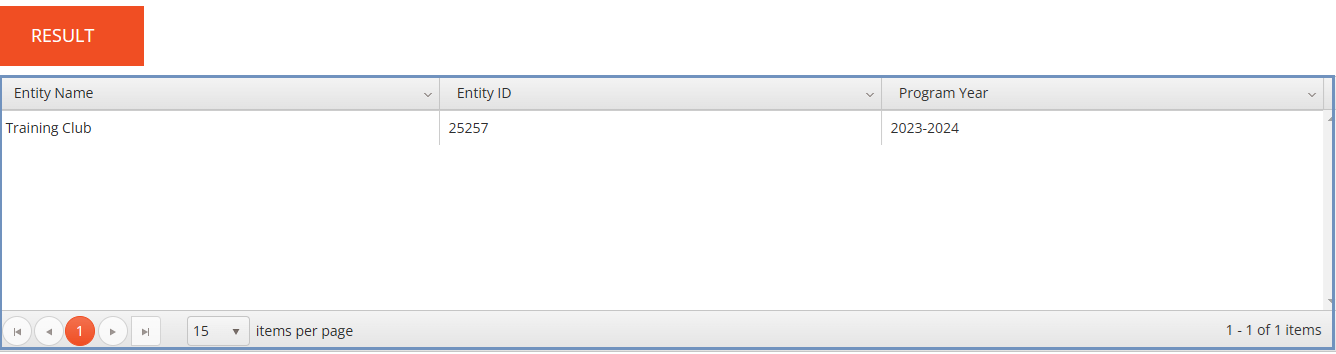
TOP Clubs are displayed in the table below the search form. Locate and click on the name of the appropriate TOP Club. You will be redirected to the Manage Teens form.
On Manage Teens, click "Add Teen" and fill in the following fields: TeenID; Nickname (optional); Status; Date Joined. Continue adding new teens as needed.
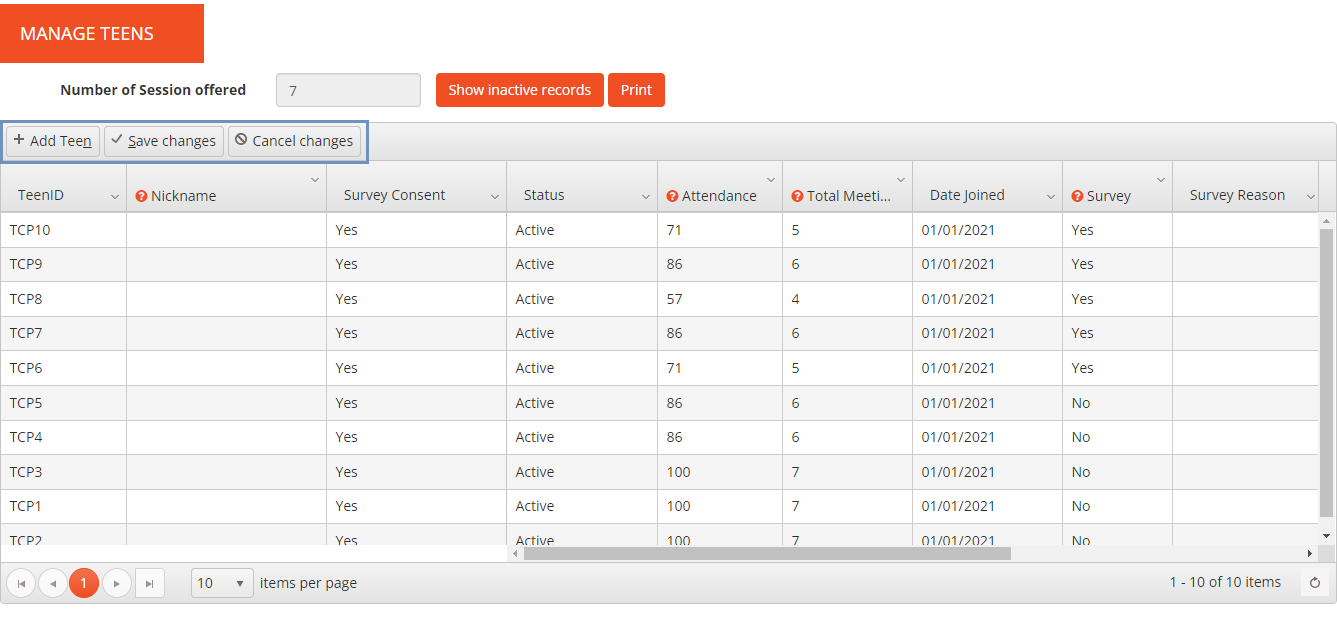
Notes:
- Refer to the TOP Evaluation Guide for guidance on creating Teen IDs and nicknames.
- The first three columns are "frozen," so they are kept visible when you scroll right.
- Press the "tab" button on the keyboard to jump to the next field.
- Not all fields must be completed. Many will automatically populate when attendance data is logged and the survey is taken.
- Editable fields are marked by a red triangle in the top-left corner.
|
Column |
Description |
|
Teen ID |
Enter am alphanumeric identifier to correspond with the teen. |
|
Nick Name |
Optionally, enter teen's nickname not exceeding 8 characters. |
|
Survey Consent |
Indicate if you have obtained survey consent by selecting "Yes" or "No" in the drop-down menu. If you select "No." then survey cannot be started for this teen. |
|
Status |
Indicate if the teen's record is "Active" or "Inactive" by selecting appropriate items in the drop-down menu. By default, inactive records are hidden. You can display both active and inactive records by clicking the "Show Inactive Records" button. |
|
Attendance |
The value will be automatically populated after you log attendance. This field is editable only if there is no attendance records. |
|
Total Meetings Attended |
The value will be automatically populated after you log attendance. This field is editable only if there is no attendance records. |
| CSL Hours |
The value will be automatically populated after you log attendance. This field is editable only if there is no attendance records. |
|
Date Joined |
Enter a date when the teen joined the club. Use the drop-down calendar or type in the required date. In most cases, this date is the same as the Club Start Date. Date Joined must be between Club Start Date and Club End Date. |
|
Pre Survey |
This field cannot be edited. Once the survey has been submitted, the value will change to "Yes." |
|
Pre Survey Reason |
From the drop-down menu, you can select one of the following reasons the survey was not taken:
|
|
Post Survey |
This field cannot be edited. Once the survey has been submitted, the value will change to "Yes." |
|
Post Survey Reason |
From the drop-down menu, you can select one of the following reasons the survey was not taken:
|
|
Date Left |
If the teen has left the club, select the date. Use the drop-down calendar or type in the required date. |
|
Status Description |
You can select one of the following reasons for leaving the program from the drop-down menu:
|