Select "Manage Entities" under the "Manage Partner Network" menu.

Click on the "Add New" button located in the upper right-hand corner.

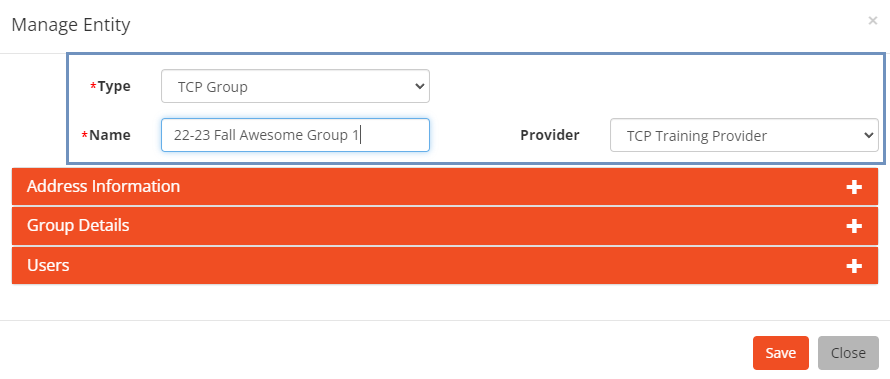
- Using the drop-down menu under "Type", select "TCP Group".
- Type the name of the TCP Group. Consider using the following convention to name your groups: School Year, School Semester, School Name, Group Number, e.g., 22-23 Fall UCHS Group 1.
- Using the drop-down menu under Provider, select the name of the Provider associated with the TCP Group. This step is not required if there is no Provider organization.
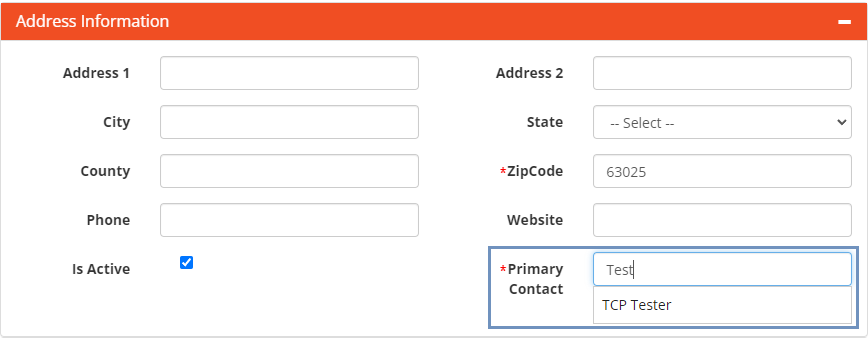
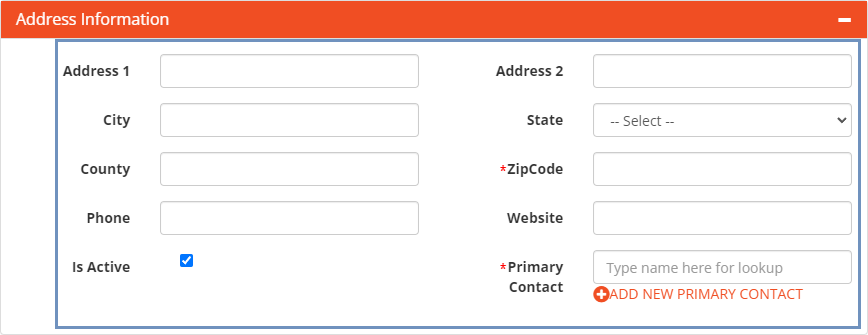
Enter Address Information and Primary Contact(s)
- Click the Address Information tile to expand the section.
- Fill in the TCP Group's zip code (required), and optionally specify address, phone, and website.
- Make sure "Is Active" is checked (it is checked by default).
- Add a Primary Contact for the TCP Group (see instructions below).
Enter TCP Group Details (required)
- Select the Club/Group Details title to expand the section.
- Add details about the Group; all fields are required. See table below for more information.
|
Field |
Description |
|
Group Start Date |
The date the TCP Group will meet for the first time |
|
Group End Date |
The date the TCP Group will meet for the last time |
|
Program Type |
Select Teen Connection Project |
|
Program Year |
Select the program year the group is operating within, e.g. 2022-2023 |
|
Youth Characteristics |
Select the primary characteristic(s) of the youth who will be served: Immigrant of Refugee; Pregnant or Parenting; Transient/Homeless; In Foster Care; Receiving Juvenile Justice Services; Youth with Developmental Disabilities; Free and Reduced Lunch Eligible; English Language Learners; None of the above. Multiple characteristics can be selected. |
|
Program Setting |
Select the primary setting for program implementation: In-School Middle School (Traditional School); In-School High School (Traditional School); In-School Alternative School; After School, At A School; Community Based Location; Faith Based Location; Hospital/Clinic; Juvenile Justice Facility; Out-of-Home Location for Youth In Foster Care. Only one setting can be selected. |
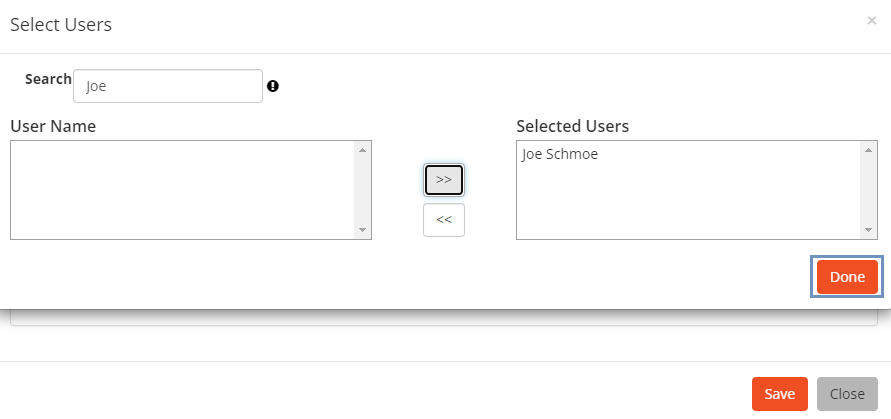
Select Users associated with the Group
Note: This step links facilitators to their assigned TCP Group(s). Linking all facilitators to their assigned TCP Group(s) will ensure that fidelity reports accurately calculate the number of facilitators per group.
- Click on the Users title to expand the section.
- Click the plus icon and the Select Users window will open.
- Use the Search field to search for the User. Results will appear in the User Name box under the Search field.
- Select the User from the list and click the arrow button to move the selected name to the Selected Users box. Multiple Users can be selected.
- Click Done.